Client Configuration
Basic Configuration
Inside Architect, type Ctrl + 3 to pull up the Quick Search menu, then search for Run
Configurations. Click on R Remote Console in the left menu, then click the ’new configuration'
button ( ) to define a new run configuration.
Then, fill in the address of your server and your credentials. A sample completed configuration looks as follows.
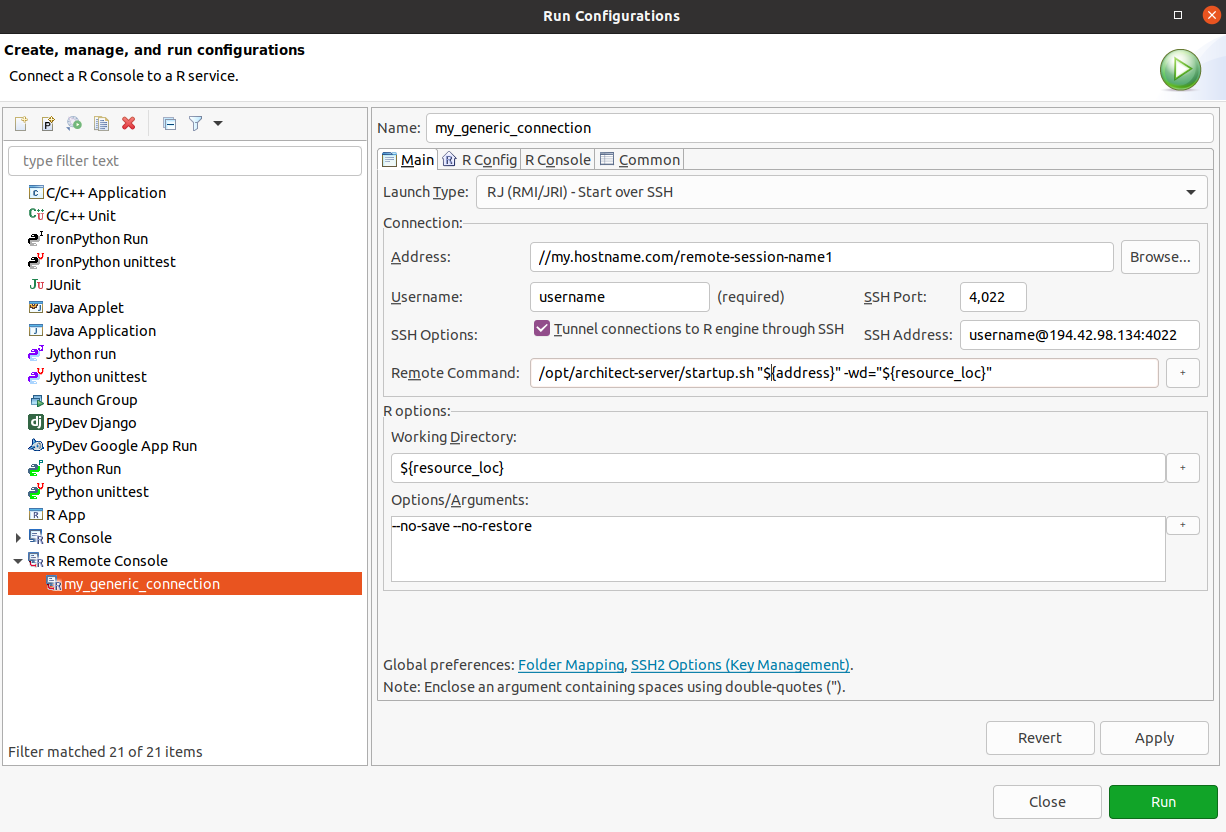
The Address field is composed of the host name (my.hostname.com) and the remote session name (remote-session-name1 in the example). A remote session name is an arbitrary name to identify the session. It allows one to define multiple different ‘R Remote Console’ configurations for different sessions on the same server (same host name). These names will also be displayed on top of the consoles which allows to distinguish between the different sessions and to easily switch back and forth from one session to another.
We recommend checking the Tunnel connections to R engine through SSH box, which secures the connection and does not require opening an extra port on the firewall. Note that Architect Server assumes that users have credentials to access the remote server over SSH.
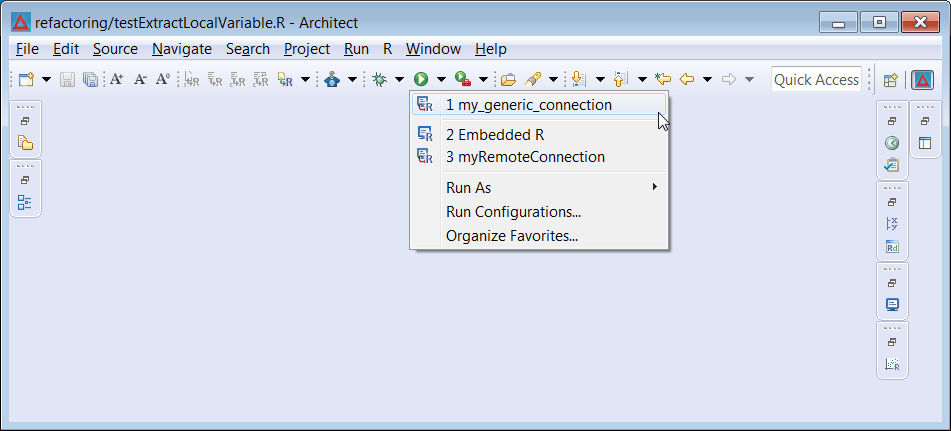
Once configured, launch the newly created configuration choosing it via the configuration selector
black arrow ( ).
).
In the above screenshot, we’ve named this configuration ‘my_generic_connection’. Naming a remote session allows users to have multiple uniquely named remote configurations defined. Above, the sessions ‘my_generic_connection’ and ‘my_generic_connection2’ could be run concurrently.
We can go one step further and label a configuration as a ‘favorite’ in the Common tab.
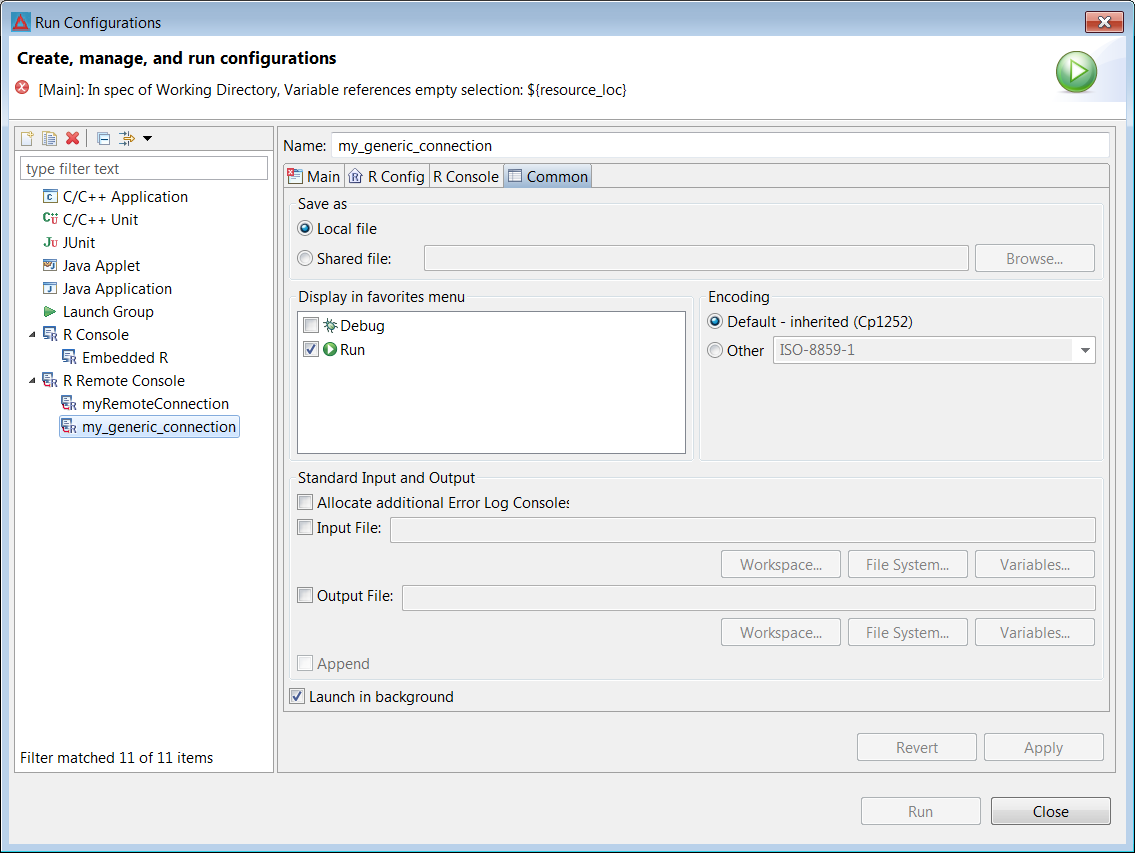
This places the selected configuration in a favorites list at the top of the run configurations
dropdown menu ().
Remote R Help
Browsing an R help directory on a remote server is possible via the Remote Systems Explorer (RSE) eclipse plugin.
-
Install the RSE plugin from the eclipse marketplace: Help > Eclipse Marketplace…
-
Open the Remote Systems view : Window > Show View > Other… then under Remote Systems select Remote Systems.
-
Create a new connection by clicking the ’new connection’ button (
 ) and use the dialog to configure the remote
endpoint. If the remote server is a *nix based system, we suggest to select use ssh only.
) and use the dialog to configure the remote
endpoint. If the remote server is a *nix based system, we suggest to select use ssh only. -
Next, configure a remote R environment for your remote R console.
- follow steps 1-5 on installing different versions of R
- on step 5, instead use the dropdown next to the Add… button to select Add Remote.
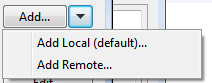
- configure the remote in the following way:
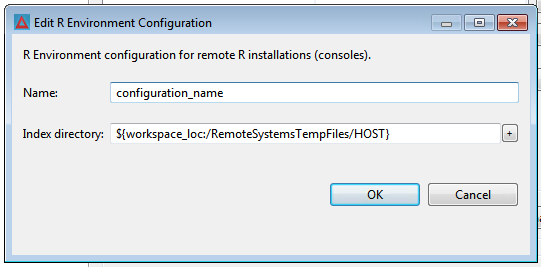
where HOST should correspond to the host in the RSE connection
- Launch your remote R console. After the index has finished updating
(
[INFO] Updating the R environment index started), restart the remote R console. The remote help view should now be working.